Setting Up Sales Tax in QuickBooks Online: eCommerce Guide
If you use QuickBooks Online, it’s your single source of truth, the one place you go to get a holistic view of how your business is doing financially – and what expenses are coming due.
It’s, therefore, critical to set up sales tax in QuickBooks Online properly so you can accurately calculate the tax you owe and simplify your sales tax reporting. You can also do things like set up default customer sales tax rates, calculate sales tax on invoices, apply sales tax to sales forms, and even view sales tax liability reports customized by date and agency.
All these functionalities help ensure your business always remains compliant and sets aside the sales tax you collected on your products and services so you can easily report and pay your sales tax when it’s due.
In this article, we’ll show you everything you need to do to set up sales tax in QuickBooks Online in three easy steps!
How To Set Up Sales Tax in QuickBooks Online
Setting up sales tax in QuickBooks Online involves three easy steps. First, you navigate to the sales tax setting page, then you configure your tax agencies, and finally you automate your sales tax calculations.
Sounds easy? It is! We’ll take you through all the steps involved – with pictures to make it even easier!
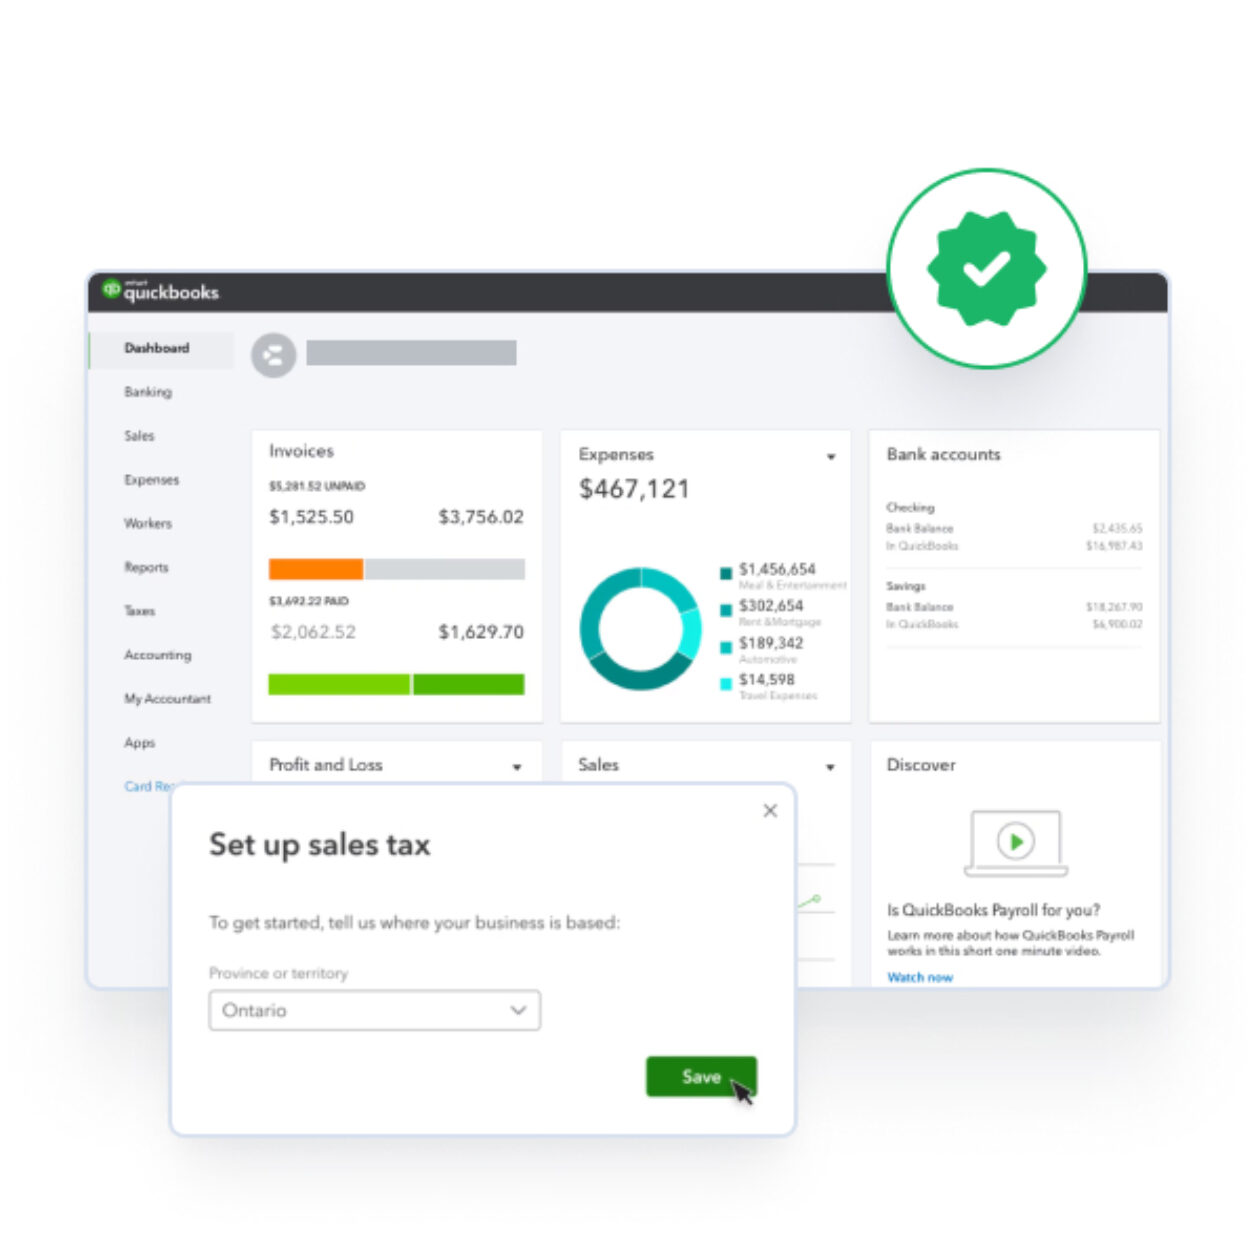
Step 1: Navigate to Sales Tax Settings
This part is easy. You just need to find the Sales Tax Center in QuickBooks Online and open it. In Business View it’s labeled ‘Taxes’ on the left menu between ‘Bookkeeping’ and ‘Apps’ and in Accountant View it’s between ‘Reports’ and ‘Mileage.’
After clicking on ‘Taxes,’ click on the button that says, ‘Use Automatic Sales Tax’ to open the Sales Tax Center. That’s it! You’ve completed this step.
Step 2: Configure Tax Agencies
When the Sales Tax Center loads, you’ll then be prompted to enter your business address or you’ll see your address already there. This address will be used to determine where you’ll owe sales taxes and your Tax Rates so make sure it’s accurate.
QuickBooks Online will then populate the next screen with the name of the Tax Agency for the state you live in. Next, you’ll be asked to enter if you are required to collect sales tax in any other states. If you are required to collect taxes in other states, select ‘Yes’ and then find all the Tax Agencies you’re required to collect sales tax in via the drop down menu.
For each Tax Agency name you select, you’ll be given information on how frequently you will need to file based on how much tax liability you have in that state on a monthly basis. You can then choose your filing frequency for each Tax Agency from the Filing Frequency dropdown menu. The options are: Annual, Quarterly, and Monthly. QuickBooks will populate your sales tax due date in each state based on what you choose here.
Once you’ve found all the Tax Agencies you’re required to collect taxes in and set your filing frequently in each of them, you’re done! Just select ‘Save’ and you’ll be taken to the screen where QuickBooks Online shows your current sales tax obligations in each state based on how much you’ve collected and owe in the current filing period and the upcoming period.
You can also update your Tax Agencies and Filing Frequency in this screen in the future by clicking ‘Edit Sales Tax Settings’ and editing sales tax settings to make the changes required.
Step 3: Automated Sales Tax Calculations
Setting up Automatic Sales Tax Calculations is a great way to have QuickBooks Online automatically calculate and track the correct sales tax when you create an invoice or a receipt in QuickBooks. This also allows QuickBooks Online to automatically track your sales tax to keep track of how much you owe.
Add Tax Categories
The first thing you’ll need to do is Assign Sales Tax Categories to all your products and services. Assigning the correct tax category to each product and service in your inventory ensures that QuickBooks calculates the right amount of sales tax you need to charge on every taxable item you sell since different item categories can be charged sales tax at different rates in certain states.
Check Your Customers’ Info
Tax rates depend on where your customers are located if you ship products to them or you perform services at their location. Make sure you have the accurate billing and shipping address for your customers setup in QuickBooks Online so when you create an invoice for them QuickBooks will automatically charge them the right amount.
Create an Invoice or a Receipt
Next, you can double check to make sure that your Automatic Sales Tax Calculations are working properly. Start by creating an Invoice or Sales Receipt for a customer in a state where you collect sales taxes. QuickBooks Online should automatically include the proper sales tax rate on the invoice to seamlessly calculate and collect tax for you.
You can also check to make sure everything is accurate by running a Sales Tax Liability report where you can see how much you owe in sales taxes at any time.
That’s it, you’ve now successfully set up sales tax in QuickBooks Online. Congratulations!
Requirements to Set Up Sales Tax in QuickBooks Online
Luckily, there aren’t a lot of things that you’ll need to set up your sales tax in QuickBooks Online but the following will be helpful to have on hand in case you need it.
- Your business addresses
- List of states you collect taxes in and tax I.D.s
- Addresses of your customers and any additional information about them like if they’re tax exempt
- Item category numbers
Final Thoughts
That’s all you need to do to set up Automatic Sales Tax in QuickBooks Online. It’s a great way for many companies to manage sales taxes – especially if they primarily invoice for their products or services.
E-commerce companies and companies who need support with their sales tax returns or other sales tax tasks might want to also use a sales tax compliance platform that integrates with QuickBooks Online.
TaxCloud is a great addition to your sales tax compliance strategy and integrates seamlessly with QuickBooks and other accounting platforms.
TaxCloud can do the following for you:
- Monitor your sales tax nexus status: Track how close you get to sales tax nexus status in different states – without needing to memorize every state’s tax nexus rules.
- Notify you of when you pass tax thresholds: Get alerts when you reach economic nexus in a new state and have to collect and file sales taxes there.
- Register you for sales tax: Get help registering for a sales tax permit in each state you’re required to collect taxes.
- Calculate your sales taxes: TaxCloud calculates the right tax on every transaction in all 13,000+ U.S. tax jurisdictions.
- Complete your tax filings: Automate your sales tax filings to save time and so you’re never late.
- Remit your taxes for you: TaxCloud can pay your sales taxes for you from your account, ensuring your payments are always on time.
- Help you respond to audits: If you get audited, you’re not alone! TaxCloud can help you navigate the audit.
Start a free 30-day trial with TaxCloud to manage sales tax seamlessly.
Join 15,000+ eCommerce owners
Stay informed on sales tax news — sign up for our free newsletter.